
Here is a picture of the Boothbay (a fishing village in Maine, USA) Lobster Boat, otherwise known as the Maine Lobster Boat, taken from the box in which the kit is delivered. This is a 30 inch kit and is built with thin micro-lite plywood, basswood, mahogany and balsa wood. The boat can be built as a radio controlled operating model or for display only. I will build mine with electric motor and RC for direction/speed and steering. |
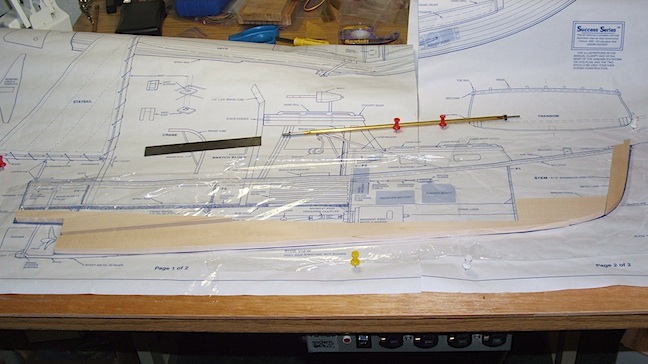 The plans have been laid out on my work table for the beginning of construction. Here the keel will be assembled. It is pinned down over plastic wrap and aligned with the drawings. Slow CA glue is used to glue the basswood keel parts together. |
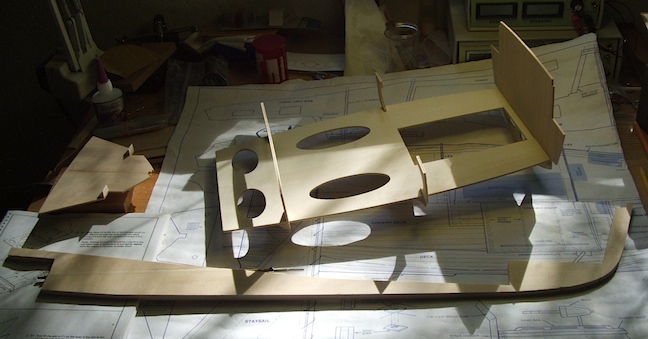 Here the keel is complete with the installation of the stuffing box, for the drive shaft. The frames are being assembled in the sub-deck. This will be the cockpit area. The material here is micro-lite plywood. It is held together with slow CA glue. |
|
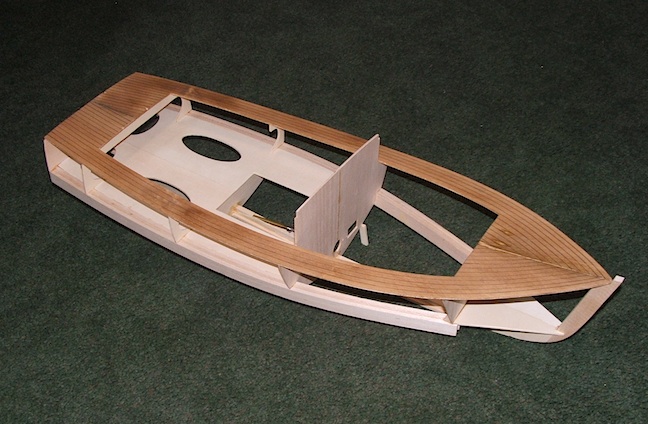
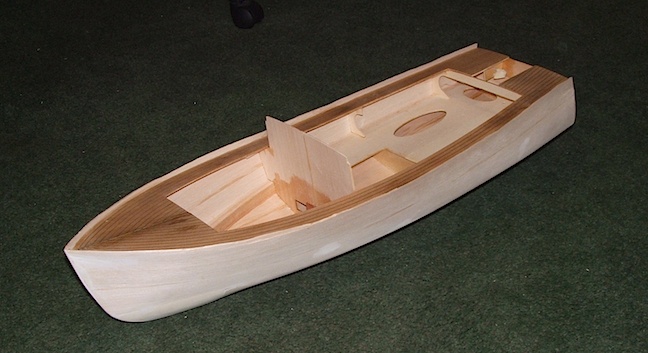
The main deck has been stained to resemble teak. It is installed on the frames and attached to the stem and transom. The chine logs have been glued in place. The chine is the transition between the side and the bottom. Now, it's beginning to look like a boat. |
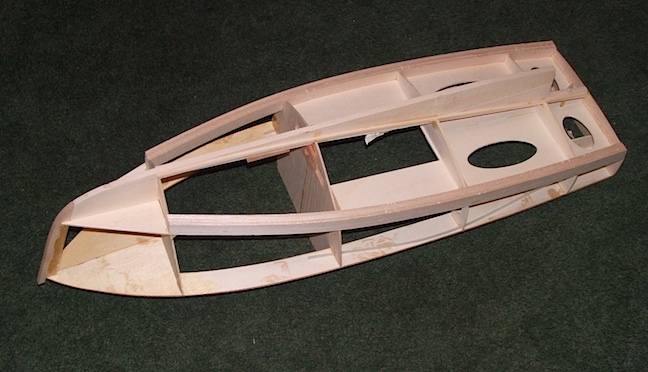
The up-side-down view at this stage shows the chine logs in place. These will need to be carved to produce the proper shape of the chine. Here also, is a better view of the keel and the frames as they are assembled with the sub-deck. |
|
|
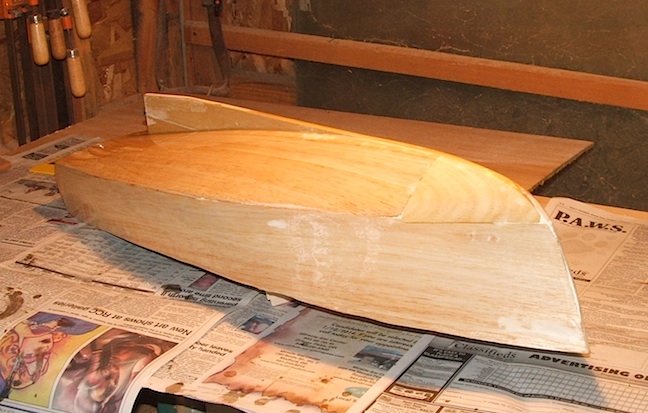
The next step was to install the planking. These are sheets of balsa wood which are glued first to the frames, deck, transom, stem and chine logs to make the sides of the boat. A plane and sanding block are used to fair these with the chines and deck, then the bottom panels are installed. More sanding is required to get ready for the fiberglass and epoxy covering |
 The double layers of fiberglass and epoxy have been applied and the edges trimmed along the sheer line. The white patches that can be seen through the epoxy are irregularities that have been filled with vinyl spackle and sanded smooth. After a little more sanding with fine sandpaper, she'll be ready for primer. |
 This is a sample of the fiberglass used on this model. I'm not sure about its weight but it is very thin—probably why we should use two layers. I used "System Three" epoxy (the product I used to build my cedar strip canoes) on this model. With the fiberglass tacked down with CA, it was quite easy to manage. |
|
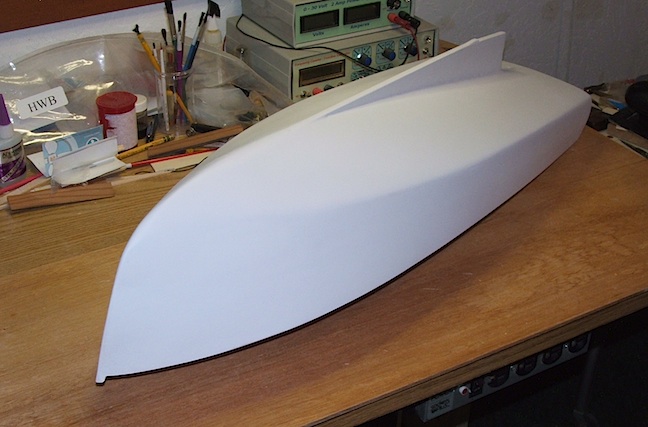
The final step in the hull construction, except for painting, is to give it two coats of primer. After the first coat I found a few irregularities which I filled with spackle compound. Then, one more sanding with #320 paper and the final primer coat. I built a couple of temporary work stands to hold the boat upright while I get started on the cabin. |
Here, I have painted the hull with three coats of gloss white Rust-Oleum 2X Ultra Cover. I started with a rub-down of the primer coats using #400 emery paper. The faint line at the waterline is where I'll put the red bootstripe. After two days of drying the paint has a nice, smooth and shiny surface. |
|
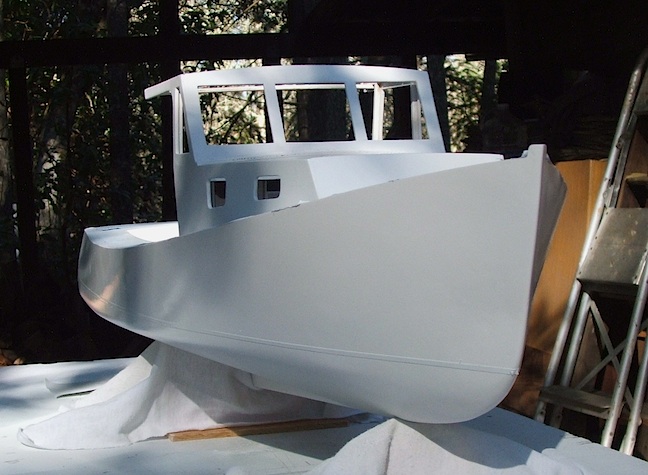
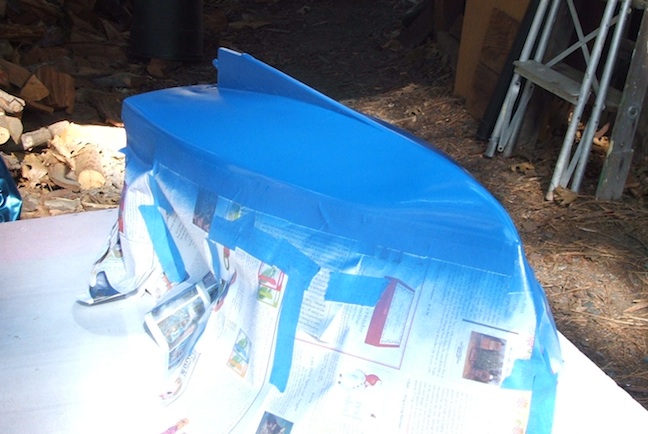 Now is time for the bottom paint. The white part of the hull has been protected with paper and masking tape. Traditionally, bottom paint (or more properly known as anti-fouling paint) was copper red. More modern paints though, are a variety of more pleasing colors. |
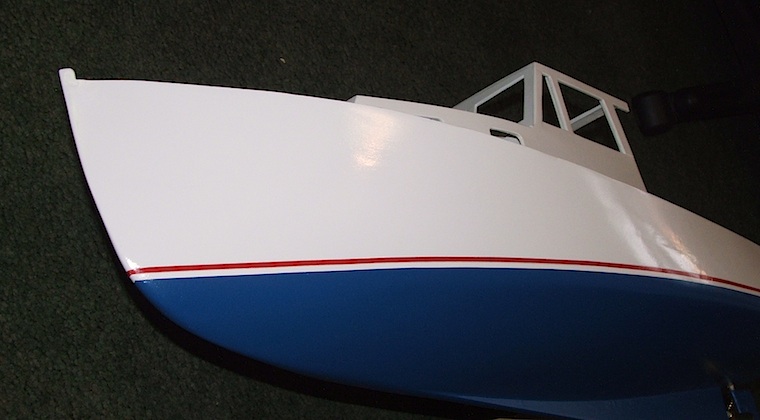 This picture shows my red bootstripe. The bootstripe does not really do anything, it just adds a hint of character to the boat's appearance. It is just above the waterline. I think this paint arrangement is more often seen on pleasure boats than working fishing boats. |
